Having been a part of hundreds of Pardot implementations over the years, I’ve fielded a lot of the same questions from new Pardot users with regard to the tool’s functionality. While Pardot is great at a lot of things, it’s not perfect. There are certain areas in which Pardot excels and other areas where it may seem, on the surface, that Pardot won’t be able to accomplish what you’re looking to do. In this post, I’ve compiled a few of the common questions I get from new Pardot customers.
Custom Object Integration
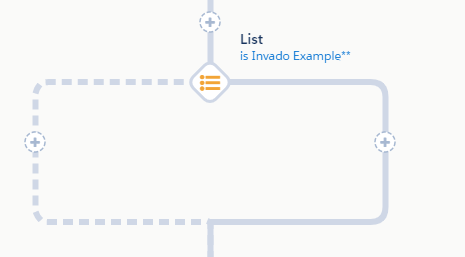
I’m always a bit weary when I learn that a customer has purchased the Custom Object integration addon for their Pardot Org. There are a lot of great things that this integration can accomplish, such as using Custom Object data points as criteria in your lists and automation rules. On the other hand, Custom Object fields are read-only on the Pardot side, and we cannot reference custom objects at all within the Pardot Engagement Studio, which is what I want to talk about next.
Initially, you may be a bit shocked to learn that the Custom Object integration upgrade you purchased for your Pardot Org is pretty useless when it comes to Pardot Engagement Programs. While you can’t run rules or actions that directly reference Custom Object fields within Salesforce, there is a pretty solid workaround available – Dynamic Lists.
For example, if you wanted to build out a rule in your Pardot Engagement Studio that checks for value ‘X’ on one of your custom objects, that wouldn’t be possible. However, what we could do in this situation is build out a dynamic list that does point to that field on your Custom Object and pulls in anyone with a value of ‘X’. Finally, back within your Pardot Engagement Program, simply add in a rule that checks to see if your prospects are a member of the new dynamic list you created.


In a perfect world, we’d be able to reference the Custom Object field directly within the Engagement Program, but this is a solid workaround that doesn’t add in too many extra steps.
Prospect Filtering Within Tables
There are many, many places within Pardot that allow you to view a table of prospects, such as a table of prospects that opened up one of your emails. However, while there are many places in Pardot to view tables of prospects, there aren’t many situations where that table is customizable, which can cause some frustration.
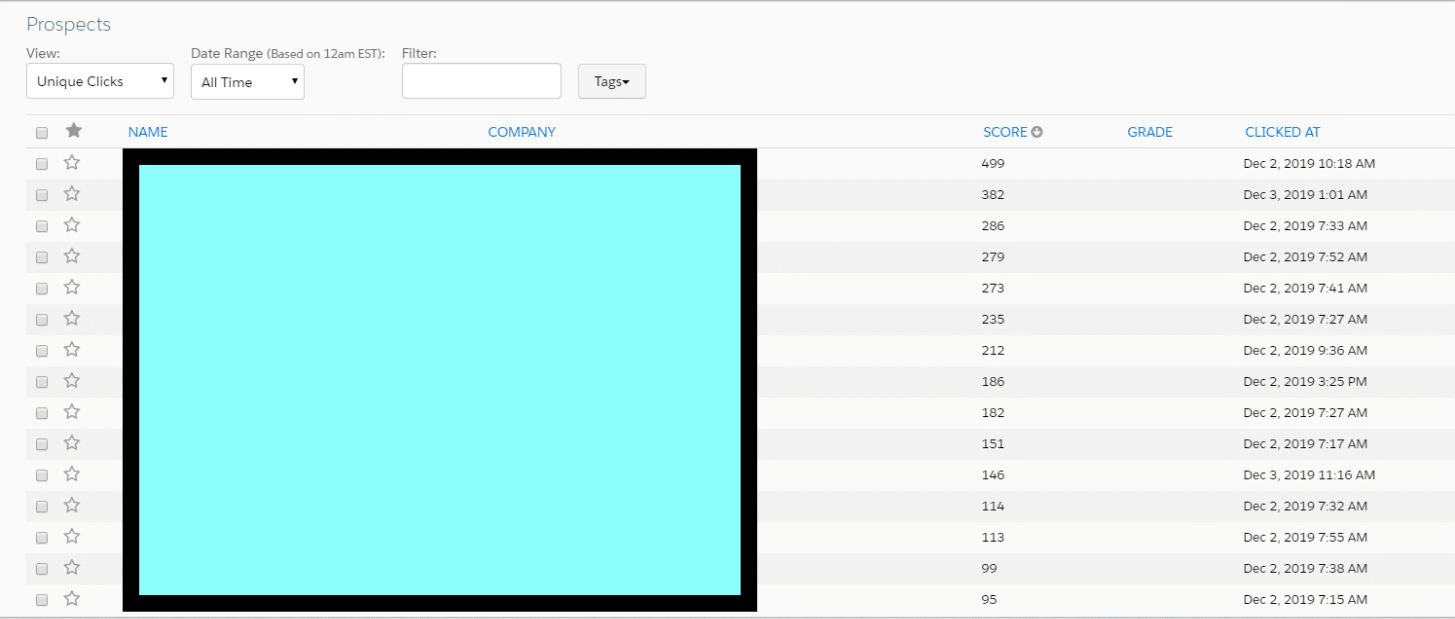
For example, if you were to open up a list of prospects that clicked into one of your emails, you may see something like this:

It gives you what you requested, a table view of prospects that clicked into your email – but what if we also wanted to see, in addition to the company field which is already included, their email address or a certain custom field data point. We don’t have that option within this table as we can’t really customize it.
Before we jump into the workaround, you may already be aware that if you navigate to Prospects > Prospect List that that table is much more customizable than the one in the screenshot above, and that is what we’re going to use in this situation.
In order to accomplish this, select every prospect in the email click report’s table, and apply a unique tag to their record. Next, navigate to Prospects > Prospect List and filter by that unique tag that you added. You can then use the ‘filter’ icon to add in columns for a number of default fields, as well as all of your prospect custom fields.

Completion Actions Within List Emails
I’ve touched on this one in one of my older blog posts, but since the question keeps coming up I figured it made sense to include it here. As you may already know, we can set up completion actions within our Padort list email based on four separate triggers – email open, email unsubscribe, email link click (any), and email link click (specific). The challenge here is, what if we want to call out two (or more) specific links that we want to set up a separate set of completion actions on? The workaround here isn’t very labor-intensive and revolves around creating custom redirects.
As it stands currently with email click completion action triggers, we can call out one link or we can call out all links, which doesn’t help us if the scenario above arises when we want to have two (or more) unique sets of completion actions on two (or more) separate links.
To give you an example, let’s say we’re going to send out a Pardot list email promoting two new product offerings we’re going to soon be releasing, and depending on how our prospects interact with the email, we want to send them to the corresponding product page on our website as well as send them more information regarding those product offerings via email.
In the Pardot list email, we have two separate calls to action, one for each product offering. If they select CTA1 they get info on Product 1 and if they select CTA2 they get info on Product 2. If they select both, they would receive info on both Products.
To set this up, first, configure your list email completion action. Configure this to call out a specific link (the one pushing to your corresponding Product page on your website) and select CTA1. For the action, choose to send an autoresponder email and choose the email template for Product 1.
Next, we’re going to build out a custom redirect. Navigate to Marketing > Content > Custom Redirects to build this out. For the destination URL, add the URL for the web page corresponding to Product 2. Finally, add in a completion action onto that custom redirect that would send them an autoresponder email with information about Product 2.
Wrap Up
If you’re running into roadblocks setting up Pardot or just need some Pardot tips so you can focus your time elsewhere, the Salesforce Consultants at Invado Solutions can help!


